Automotive Blog
How to Install EV Charger at Home – Complete Step by Step Guide
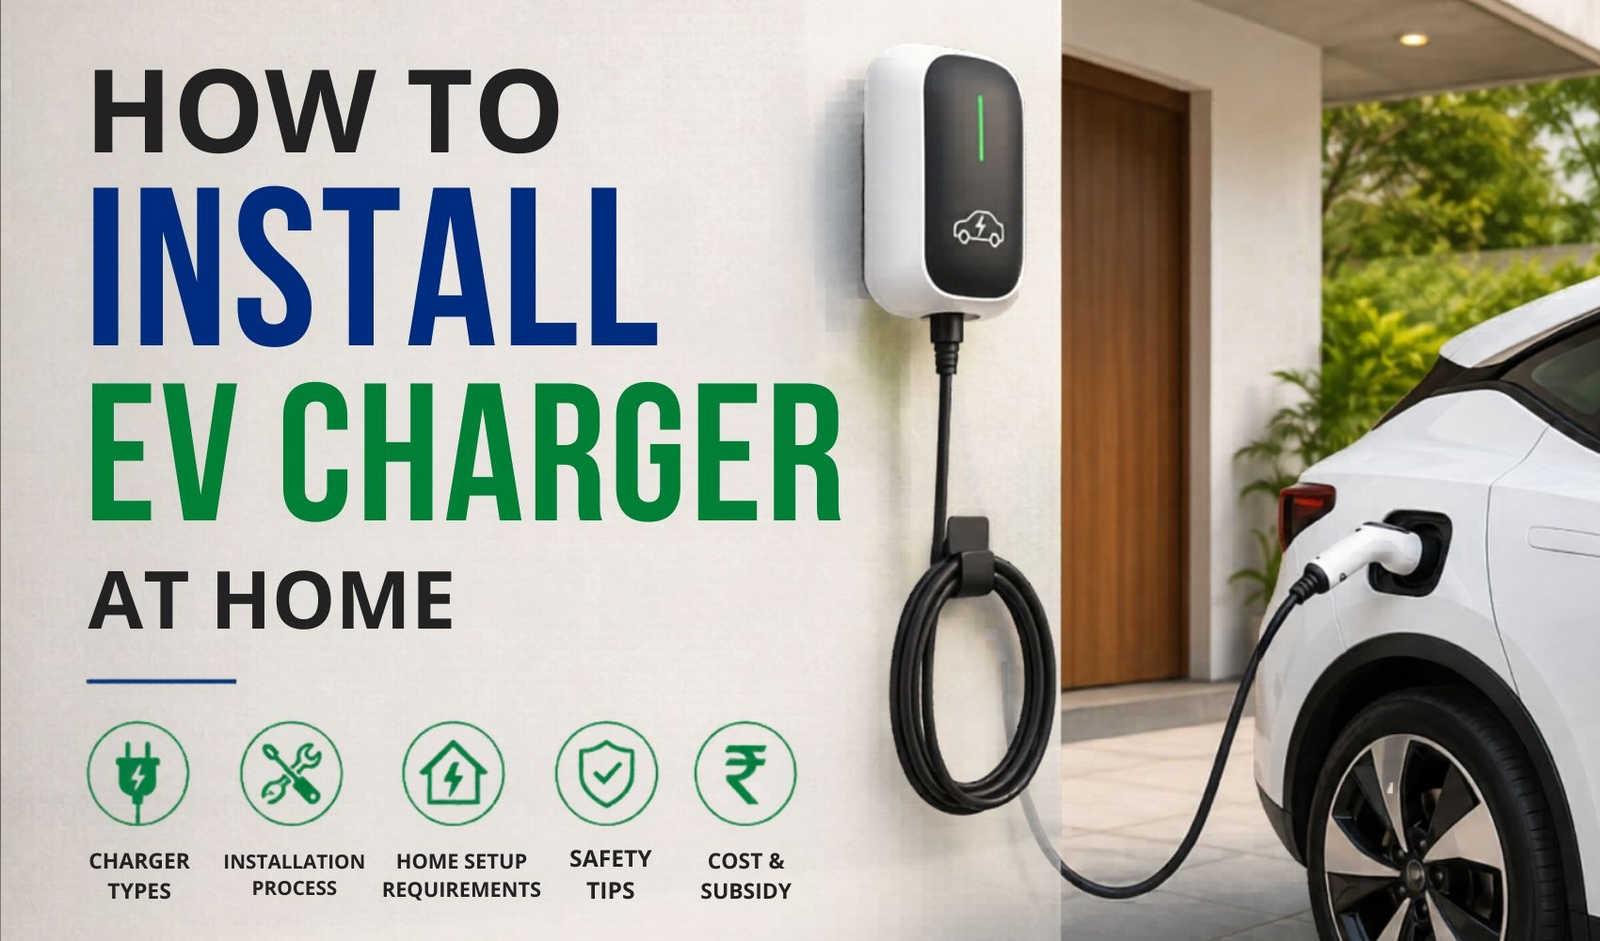
Buying an electric car is one decision. Figuring out how you will charge it every day is the next one.
Most new EV owners rely on public charging stations for the first few weeks. That works fine until you realise you are spending extra time planning routes around charging points, waiting in queues and paying significantly more per unit than you would at home.
A home EV charger fixes all of that. You come home, plug in, go to sleep and wake up to a full charge. No planning, no waiting, no extra cost.
This guide covers everything you need to know about installing an EV charger at home in India in 2026. From the types of chargers available to the step by step installation process to the actual costs involved.
Why You Should Install an EV Charger at Home
Before getting into the how let us quickly cover the why. Because a home charger is not just a convenience. It is a genuinely smart financial and practical decision.
It is much cheaper per unit
Charging your EV at a public charging station costs Rs 11 per kW for AC charging and Rs 16 per kW for DC fast charging. Whereas domestic electricity rates in Delhi range from Rs 2 to Rs 9 per kW. That is a difference of 2x to 5x in cost per unit. Over a year of daily charging that saving is significant.
You always have a full charge in the morning
When you charge at home overnight your car starts every morning with a full or near-full battery. You never have to think about whether you have enough range for the day. This peace of mind is one of the most underrated benefits of home charging.
It is better for the battery
The more frequently you charge your EV at a public fast charger the faster the charging and discharging cycles deplete battery life. With a home charger you charge slowly overnight which is the gentlest and healthiest way to charge an EV battery.
It adds value to your home
A dedicated Level 2 EV charger installed at your home is considered a value-adding feature. As EV adoption grows in India a home with a charger already installed is more attractive to future buyers.
Types of EV Chargers – Level 1, Level 2 and DC Fast Charger
Before installing anything it helps to understand what the different charger types mean.
Level 1 – Standard 5 Amp or 15 Amp Socket
This is the most basic charging option. You literally plug your car into a regular household socket using the charging cable that comes with your EV. No installation needed.
The downside is speed. A standard 5 amp socket typically adds only 10 to 15 km of range per hour of charging. For a 40 kWh battery car that means 24 to 30 hours for a full charge. This is fine as an emergency backup but not practical for daily use.
A 15 amp socket with a higher-rated portable charger gives 25 to 30 km per hour which is more usable but still slow.
Level 2 – Dedicated AC Wall Charger
This is what you want to install at home. A Level 2 charger uses a 240V supply and delivers 7.2 kW or more of charging power. In practical terms this means 50 to 80 km of range added per hour of charging. A fully depleted 40 kWh battery charges in 5 to 6 hours. Overnight charging easily fills up any EV on the market.
This type requires a dedicated circuit, specific wiring and a wall-mounted charger unit. It is what this guide is mainly about.
DC Fast Charger – For Commercial Use Only
DC fast chargers are what you see at public charging stations. They can charge an EV from 20 percent to 80 percent in 30 to 45 minutes. However they require a three-phase commercial power connection, cost Rs 2 to Rs 5 lakh or more to install and are not practical or permitted for residential use. These are for commercial locations only.
What You Need Before Installation – Checklist
Check your home's electrical capacity
Check your MCB or distribution board
Check your wiring
Identify the charger location
Check if the location is covered from rain
Step by Step Guide to Install EV Charger at Home
Now the actual installation process. This should always be done by a qualified electrician. Never attempt to do EV charger wiring yourself it involves high current connections that can be dangerous if done incorrectly.
Step 1 – Call Your Car Brand's Service Centre

Hiring an electrician is the first step to ensure safe and proper installation of an EV charger at your home. It is better to hire someone with specific expertise in installing EV chargers.
Most EV brands in India have empanelled electricians and can arrange home installation as a paid service. Alternatively you can find an independent electrician but make sure they have experience with EV charger installations specifically.
Step 2 – Site Assessment and Load Calculation

The electrician will visit your home and assess the following:
Your current sanctioned load from the electricity board. The capacity of your existing MCB distribution board. The gauge and condition of your existing wiring. The best location for the charger relative to your parking spot. Whether a load enhancement application is needed with the electricity board.
This assessment typically takes 30 to 60 minutes. Based on the findings the electrician will give you a quote for the electrical work needed.
Step 3 – Apply for Load Enhancement if Needed
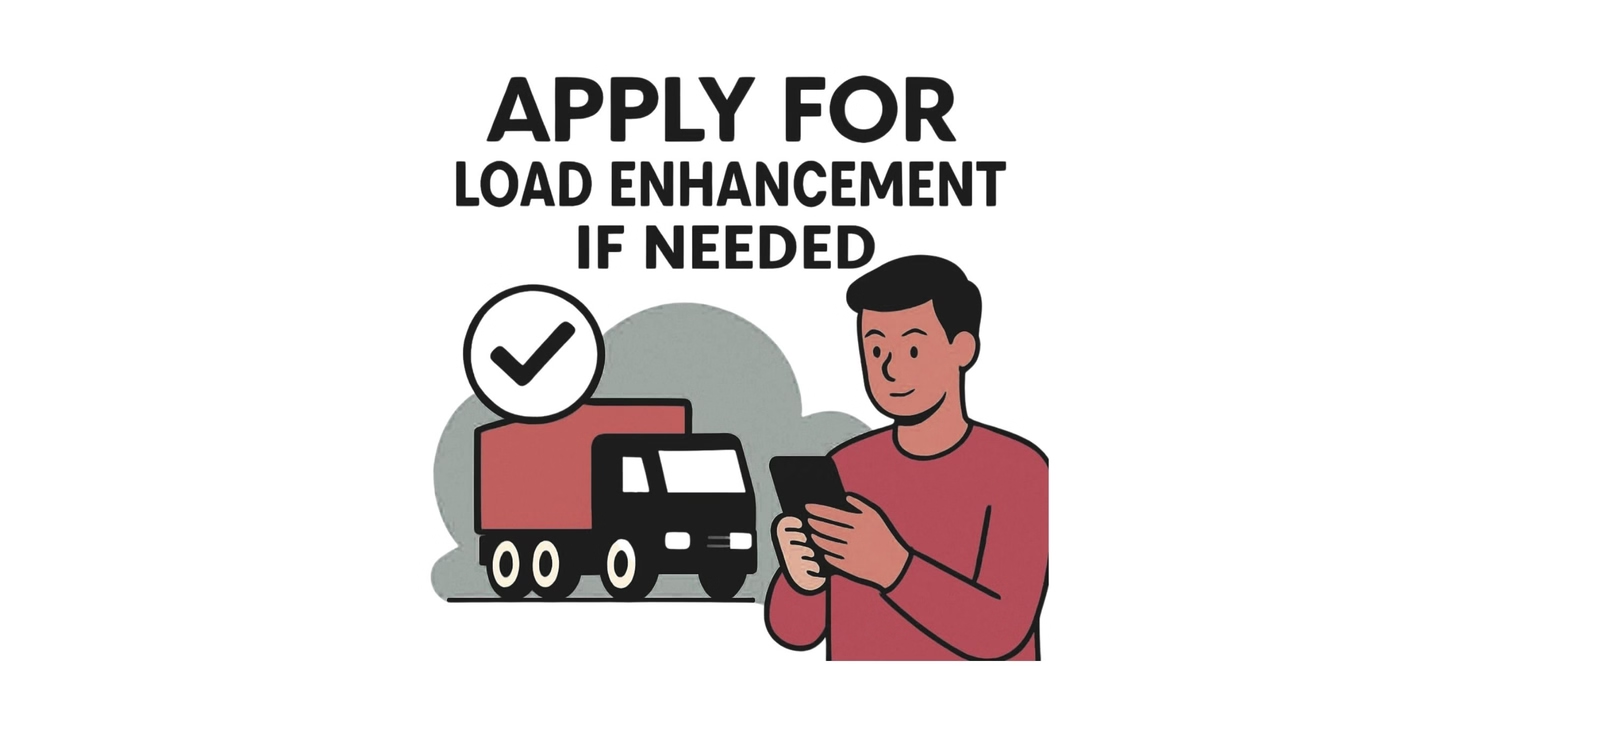
If your current sanctioned load is not sufficient for the charger you need to apply to your local electricity board for a load upgrade. This involves:
Submitting an application form at the board office or online. Paying the load enhancement charge which varies by state. Waiting for the board to upgrade your meter and service connection which typically takes 2 to 4 weeks
Step 4 – Run a Dedicated Circuit From the MCB Board

Once the load is sufficient the electrician will run a dedicated circuit from your MCB distribution board to the charger location. This involves:
Installing a dedicated 32A or higher MCB breaker in your distribution board specifically for the EV charger. Running copper wiring of the correct gauge from the board to the charger location. The wiring should be protected by conduit pipes especially in exposed or wet areas.
This dedicated circuit is important. The EV charger should never share a circuit with other household appliances because it draws sustained high current during charging.
Step 5 – Choose and Install the Charger Location
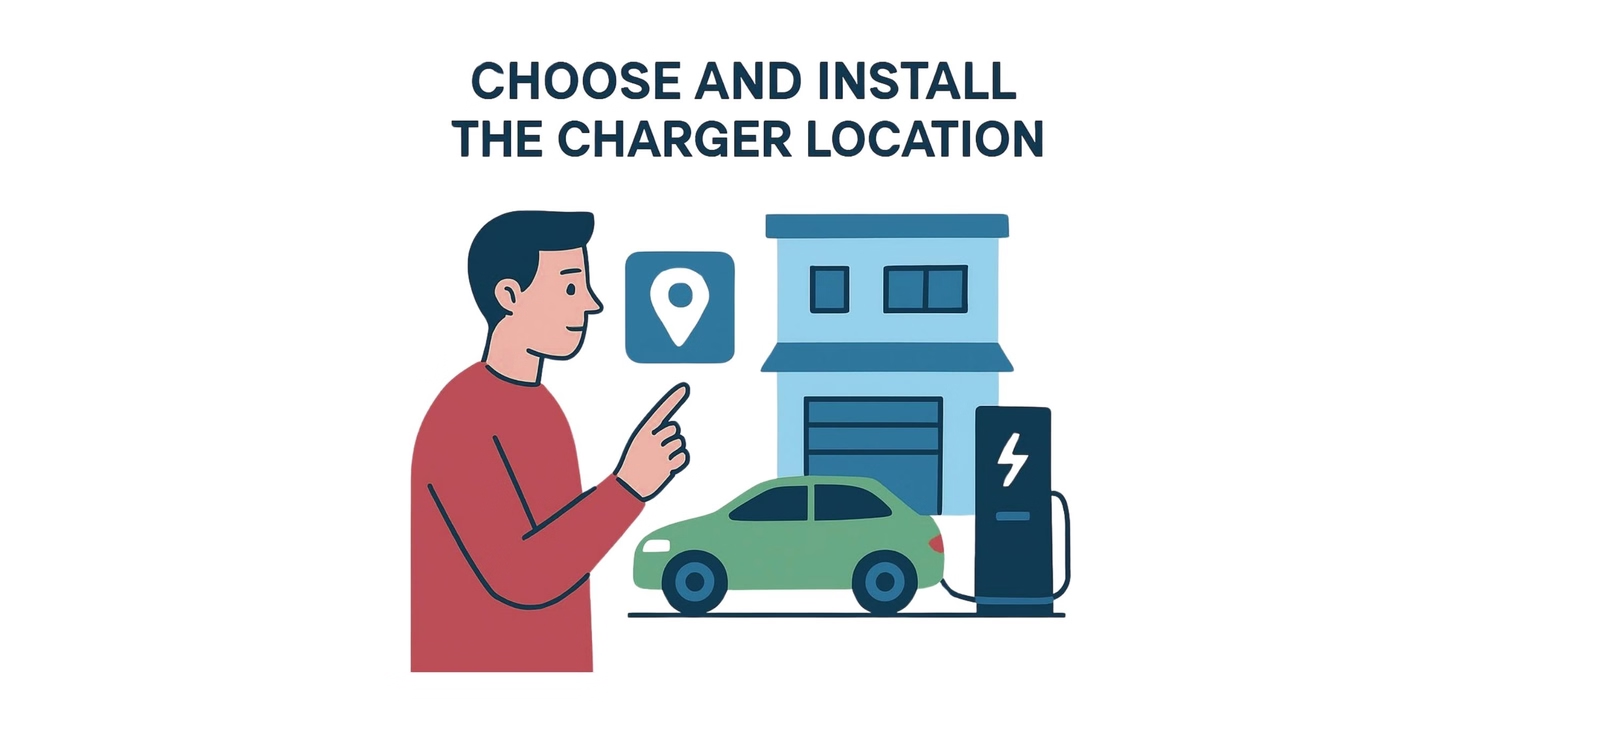
While choosing a location for the EV charger make sure it is close to your parking spot. Also make sure that there are no cracks in the shelter and walls for water to enter when it rains.
The standard mounting height for a wall charger is between 1.2 and 1.5 metres from the floor. The charger should be mounted on a solid wall brick or concrete. The electrician will drill mounting holes, fix the bracket securely and then connect the wiring to the charger's terminals.
Step 6 – Install an Earth Leakage Circuit Breaker (ELCB) or RCD
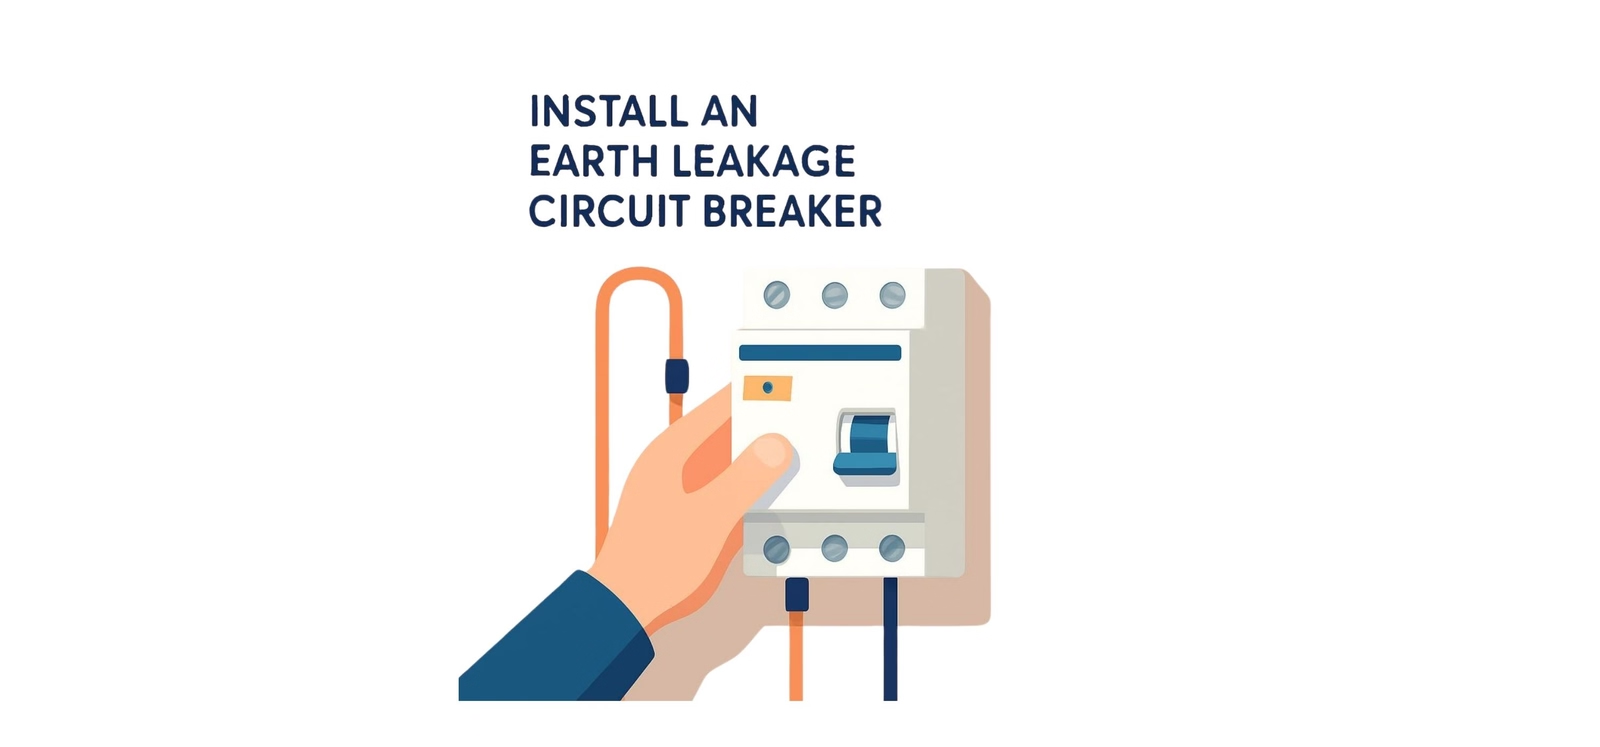
This is a safety step that many installers skip but should not. An ELCB or Residual Current Device protects you from electric shock if there is a fault in the charger or wiring. It cuts power immediately if it detects current leakage. This is a non-negotiable safety device for any EV charger installation.
Step 7 – Test the Installation
Once everything is wired up the electrician will:
Switch on the dedicated MCB breaker. Check that the charger unit powers up correctly. Plug in your EV and verify that charging begins as expected. Check the charger's indicator lights to confirm it is communicating correctly with the car.
Stay present during this testing phase. Ask the electrician to show you how to use the charger, how to safely disconnect the cable and what to do if the MCB trips.
Cost of Installing an EV Charger at Home in India
The total cost of installing a Level 2 EV charger at home in India in 2026 depends on several factors. Here is a realistic breakdown:
Component | Estimated Cost |
|---|---|
Level 2 charger unit (7.2 kW) | Rs 10,000 to Rs 40,000 |
Electrician labour charges | Rs 3,000 to Rs 8,000 |
Wiring and conduit materials | Rs 2,000 to Rs 8,000 |
MCB and ELCB components | Rs 1,000 to Rs 3,000 |
Load enhancement application | Rs 1,000 to Rs 3,000 |
Civil work if needed | Rs 1,000 to Rs 5,000 |
Total Estimated Cost | Rs 18,000 to Rs 67,000 |
Brands like Tata, Hyundai, MG and others often bundle the home charger cost into the car purchase or offer subsidised installation. Always check with your car dealer before arranging installation independently as you may get a better deal through the OEM program.
Common Mistakes to Avoid During EV Charger Installation

Not getting a dedicated circuit
Using an existing household circuit for the EV charger is a common and dangerous mistake. The sustained current draw of a charger can overheat shared wiring and cause fires. Always insist on a dedicated circuit.
Skipping the ELCB
Some electricians skip the ELCB to save cost. Do not allow this. It is a critical safety device.
Buying an incompatible charger
Chargers need to be compatible with your car's port type and onboard charger capacity. Always verify compatibility before purchasing.
Installing outdoors without weatherproofing
If the charger is in a partially outdoor location make sure it has at least an IP54 rating and is installed under a covered area. Exposed terminals and rain are a dangerous combination.
Not getting the work inspected
After installation ask for a certificate or inspection from a certified electrician. Some electricity boards also require inspection before approving the load enhancement.
Final Thoughts
Installing an EV charger at home is one of the best decisions you can make as an EV owner in India. The upfront cost of Rs 20,000 to Rs 50,000 pays back in fuel savings within the first year for most daily commuters. The convenience of waking up to a full battery every morning is genuinely life-changing once you experience it.
The process is not complicated. Get a site assessment, upgrade your load if needed, have a qualified electrician run a dedicated circuit, mount a quality Level 2 charger and you are done.
Start by calling your car brand's service centre. Most of them have a home charger installation service and can handle the entire process for you from assessment to the first charge.

Written by Team CarBike4U
Editorial & Research Team
CarBike4U's dedicated editorial team researches, reviews, and updates content to bring you the most accurate automotive news, pricing, comparisons, and ownership guidance.